Thursday 10 November 2011

Munch Punch!


Who says you should stick a paper butterfly to a card?!  This is my goddaughter's birthday cake, her mum used the butterfly punch with coloured rice paper for the finishing touches.  I think it looks gorgeous and I bet it was tasty too :)

Monday 31 October 2011

Under the Big Top


Here they are, more notelet cards.  As before they use the Under the Big Top stamp set and Big Top Birthday designer paper.  I coloured them with marker pens but left one uncoloured to see the effect.  I can't decide which I like best.

Sunday 30 October 2011

Big Top Notelet

While I was trying to decide what to make for my nieces birthday card I came across this.  This was given to us as a kit at Leadership training in September. I deviated slightly from the instructions by using the clown stamp but he looks ok I think.  I will make up the rest and share them tomorrow

Friday 28 October 2011

Happiest Birthday Wishes


Remember I told you about my nieces birthday last week?  Now that she has received her present I can share her card here.  I used the retired Celebration designer papers for the background and also for the bunting.  To make the bunting I used my new Perfect Pennants punch, it makes it sooo easy! I added a little bling in the form of rhinestones and then the greeting which is from one of the new hostess gifts Happiest Birthday Wishes.

Wednesday 26 October 2011

Rock n Roll Posy


Yay!!  A return to razzleberry for me today :)  I made this card for my friends birthday last week.  She moved away a couple of years ago so I was delighted when she decided to hold a birthday bash in her old stomping ground. 
So, razzleberry card, striped grosgrain ribbon and ink.  The stamps are from one of the new hostess sets Posy Punch and I used the rock and roll technique to give the flowers a lighter pinker centre then used the big flower punch to cut them out easily.

Monday 24 October 2011

Last but not Least


Here it is at last, the final card from the boxed set. All the colours from the colour pallette of Teatime simply scrappin feature on this one. I do love the medallion on the backing paper I think it may be time for me to invest in the medallion background stamp!  The greeting is from Petite pairs therefore you will find the second half of the expression inside the card.

Saturday 22 October 2011

A Simple Thankyou


Elegant in its simplicity, this is one of the quickest cards I have ever made I think!  The card stickers are again from Teatime simply scrappin.  The tag is matted onto some coordinating early espresso card and embellished with limeade ruffled ribbon and an antique brad.  A beautiful punched lace border at the bottom complimented by the insert which is stamped with the new Delicate Doilies set.

Friday 21 October 2011

Birthday Wishes

I must just wish my niece a very happy 10th birthday today, I will share her card over the weekend cos I don't want her to see it here before I have a chance to give it to her at her disco party tomorrow.


Here is another card from last weekend's boxed set.  Again from Teatime Simply Scrapping kit, I do love the colour combination of Early espresso, Lucky Limeade and Pink Pirouette.  The sentiment is punched using the designer label punch and is attached using one of the new yummy antique brads.

Must dash, I have another card to make for a friends birthday party tonight.  Now, what am I going to wear?!!
 

Thursday 20 October 2011

In the Pink


Just a quick visit from me today, I am busy at school decommissioning some equipment ready for moving!
Here is the first card from the box set, a square basecard in pink pirouette.  The embellishments are from the Teatime Simply Scrappin set, all the stickers are card so they are lovely to use.  More tomorrow :)

Wednesday 19 October 2011

Box of Tricks


This is one of the projects that we made at Team Training with Amanda Fowler last Saturday, I love it!  The box is made from a sheet of 12x12 Early Espresso textured cardstock and it holds 4 square cards.  All the cards have been made using the Teatime Simply Scrapping kit, a product I haven't really made much use of before bit it made these cards so quick and easy that I am sure that I will be using the Scrap kits more often in future.  The box was really quite simple to make you just need to make sure that all the score lines are in the right place and away you go, the decoration is simply a torn piece of card and a punched border and some of the new ruffled ribbon to finish.  I think it would make a great gift. 

Sunday 16 October 2011

The lovely Paula Hollifield is giving away some Christmas ribbon.  You can find her blog here

Take Note!


Hello, I spent a wonderful day at Team training yesterday.  I will share the projects we made iver the next couple of days.  Todays picture though is of the little notebooks that I decorated for my own team members who came with me.  They began life as plain notepads that you will find in any stationers but I covered them in coordinating Sunny Garden designer papers (sadly retired now). I added a strip of old olive grosgrain ribbon and a monogrammed scallop circle inked in old olive.  I also prettied up some basic biros by sliding a piece of matching paper inside the tube.  I hope they like them.

Saturday 15 October 2011

Trick or Treat!


Halloween doesn't feature hugely in my house these days as the kids are a little old for Trick or Treating and much more interested in visiting somewhere like Alton Towers for Scarefest, therefore I don't make many Halloween treats.  This year however, a friend of mine gave me a couple of bags of Hershey chocolates to see what I could come up with and this is the result. 
I kept it simple so that I could make several the same.  I used my new milkcarton die for the Bigshot and some scrummy pumpkin pie cardstock.  A strip of coordinating pumpkin paper from the designer paper pattern stack and a black card star. 
Hopefully it will be treats all the way, keeping those mean tricks at bay.

Friday 14 October 2011

Ladybird topper


Something a little bit different from me today.  This little ladybird is sitting atop a pencil and is made from a collection of circles, cut using the Bigshot and cropodile, and a treat cup which holds the sweets.  I think that next time I make some of these I will search out some googly eyes!!

Thursday 13 October 2011

Birthday Gift Card Holder.


Morning, Autumn is on the way isn't it :/  It will soon be half term and I can't wait, I really need the break from everything.
Anyway!  does this look familiar?  A little while ago I shared a Christmas Gift card, seen here and while I was making it I was thinking that it would also be a very useful design for those awkward teenage birthdays.  My little cousin will be 15 next week and as I usually send him a gift card I thought I would dress it up a little this year. 

Wednesday 12 October 2011

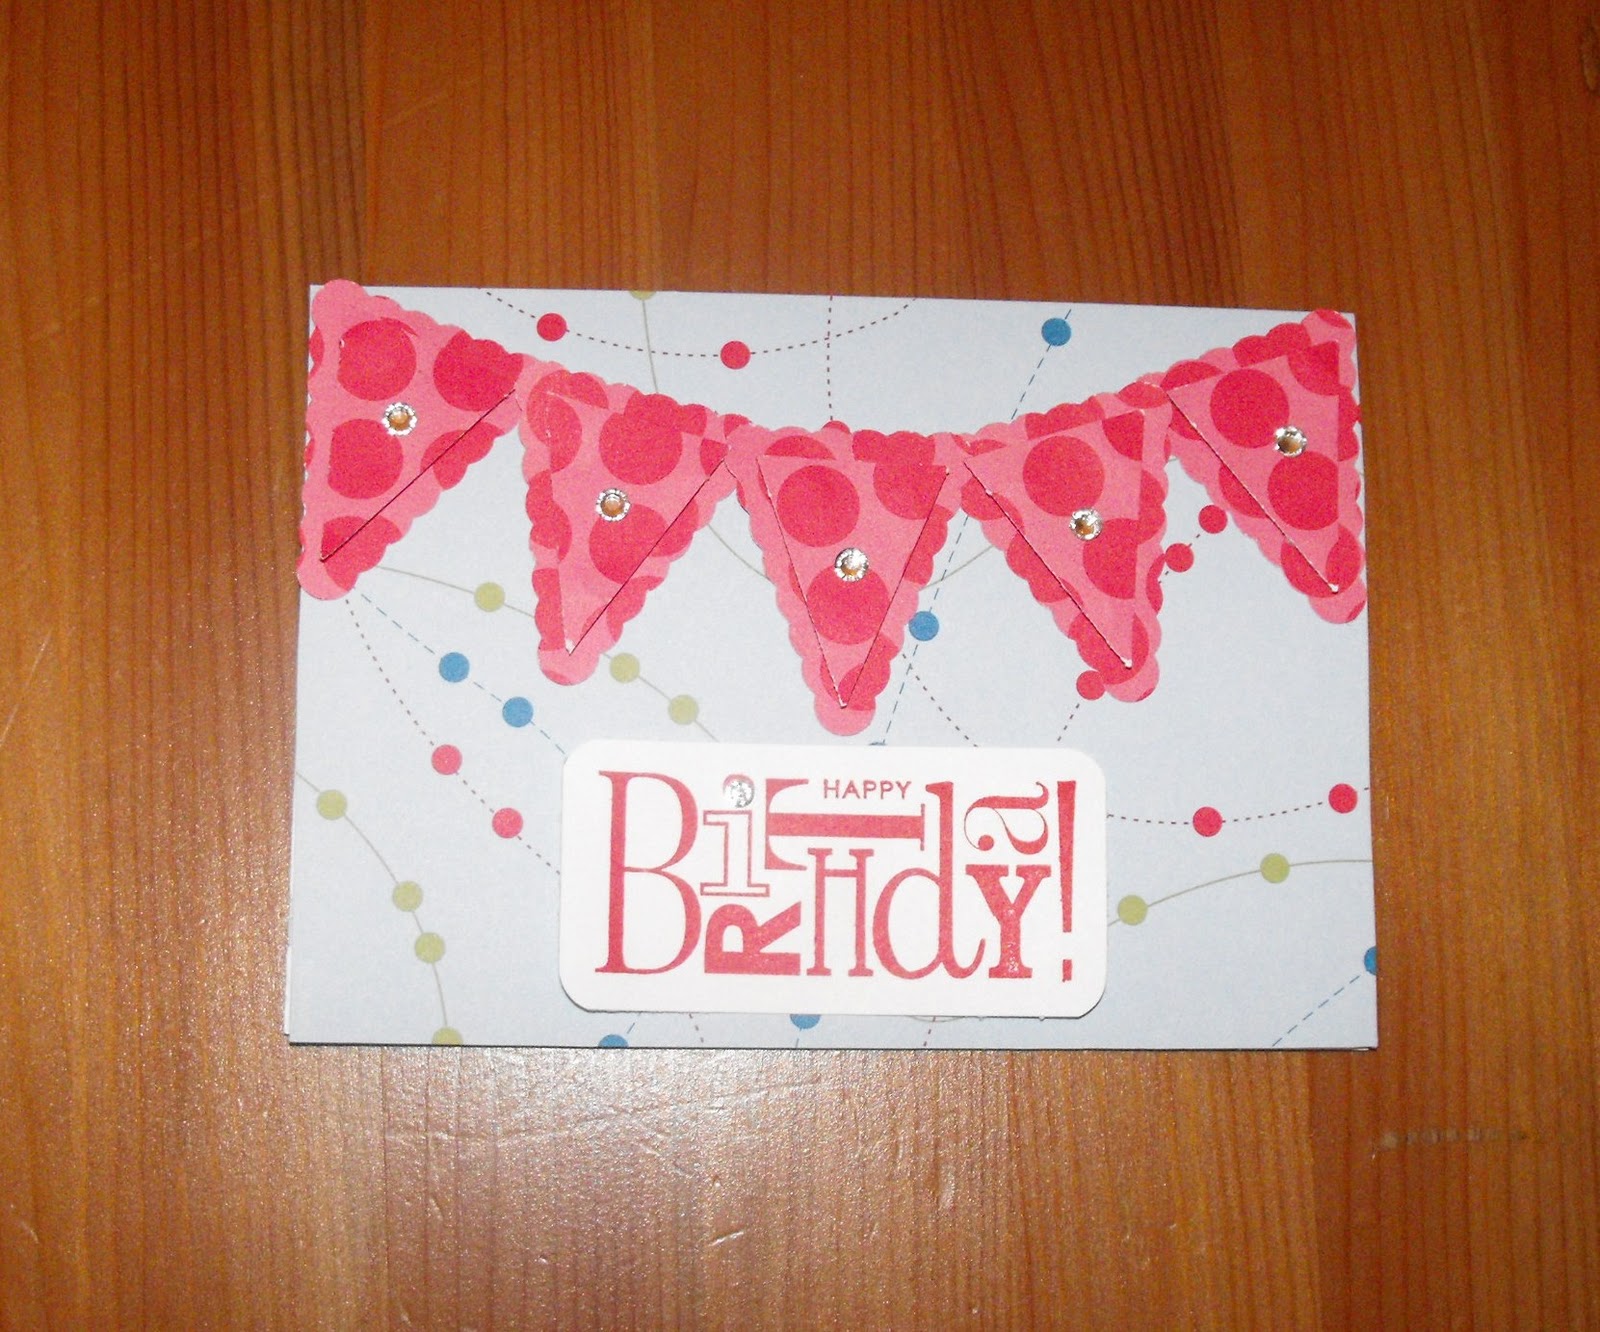
This is what I have been busy making this week, I'm making about 30 of these ready for our team training day on Saturday. All the demonstrators in the Inspiring Inkees team swap their wonderful creations so that we can take away some inspiration.
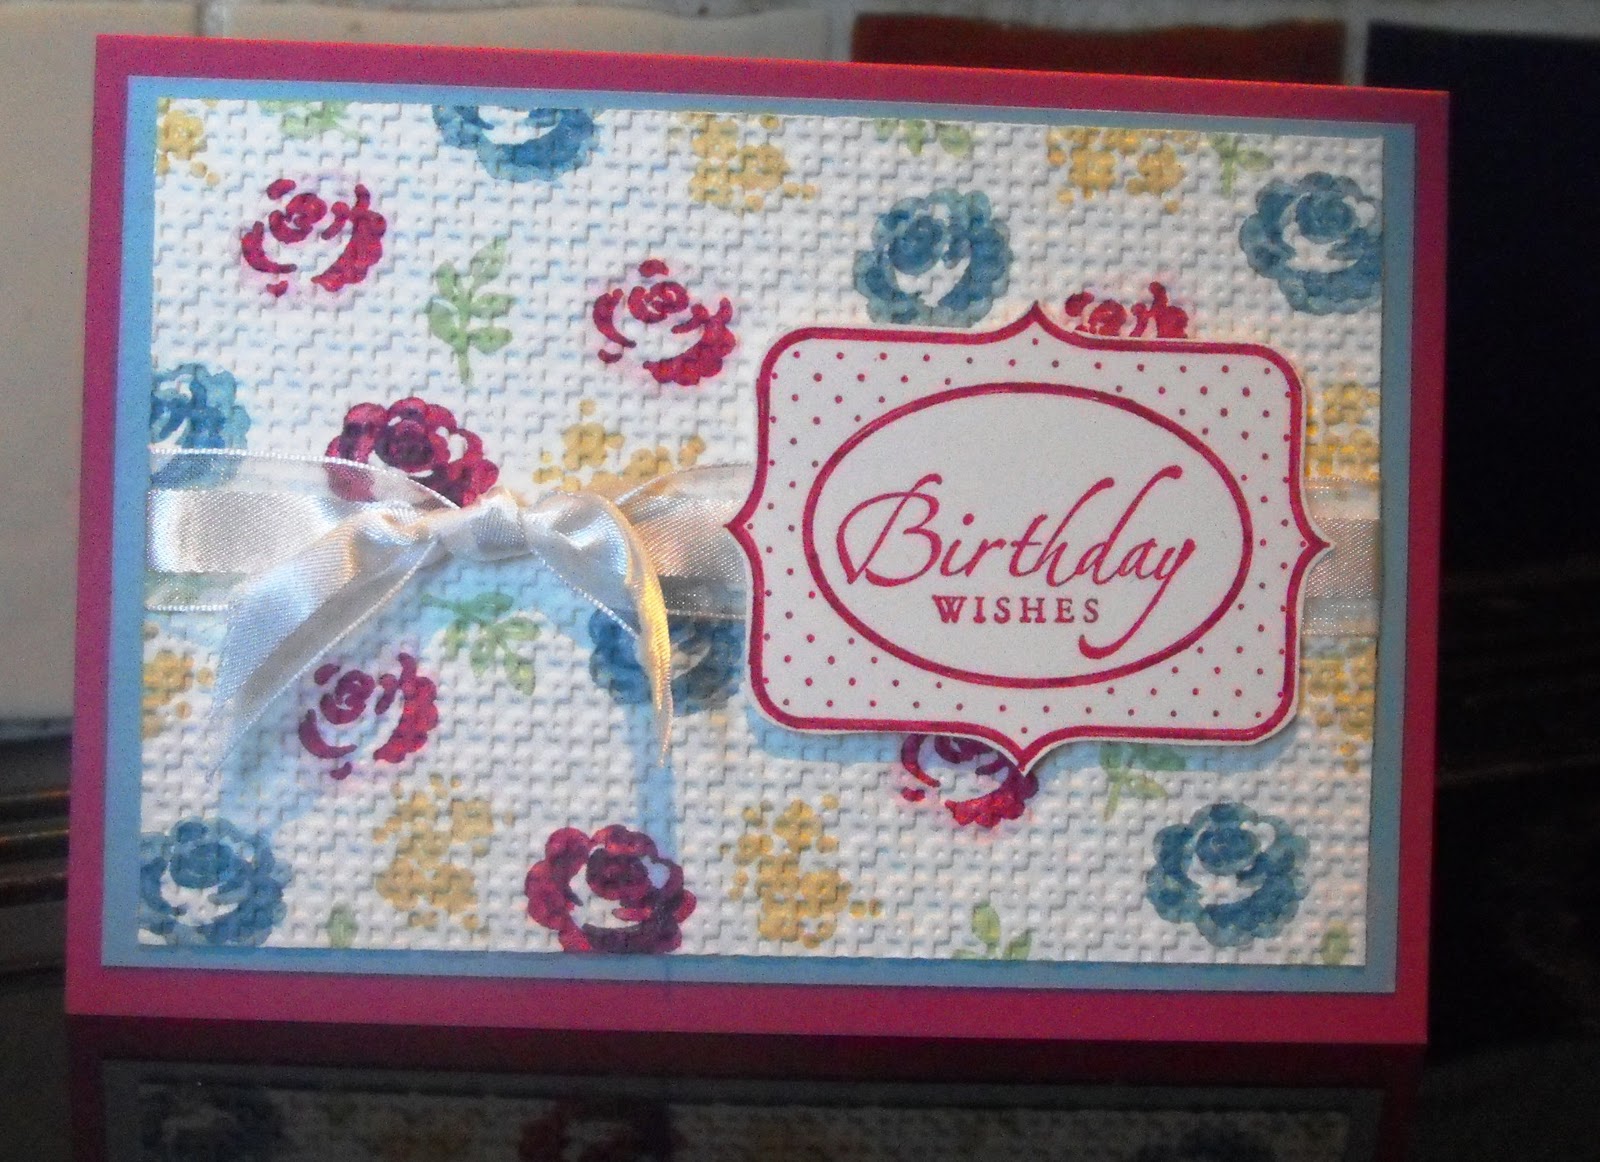
I have used one of the new hostess gifts, Faith in Nature, and stamped the background of my card in matching ink with the leaf image. I then added a band, again in matching card, using the lace border punch. The focal point is the flower image stamped in bashful blue ink once more and punched using the largest circle punch. I daubed around the edge of the circle to add a little depth.
I am so looking forward to seeing what swaps I will receive in exchange, maybe I will get some inspiration for the swaps I need to make for convention, I will need to make maybe as many as two hundred for that!

Tuesday 11 October 2011

Ribbon Flower Bookmark.


I first made one of these with my upline, the lovely Amanda Fowler but I loved it so much that I decided to share it with the wonderful ladies at Make. Do and Send card club.
I took 2 pieces of coordinating card, rich razzleberry and rose red and a piece of flowery designer paper and popped them through the big shot with the fun flowers die so that I ended up with 3 sets of flowers.  I played about with the combinations for a little while until I had settled on which order I wanted them.  I then assembled a shallow flower for the back of my bookmark, using a coordinating brad for the centre of my flower and adhering the ribbon on the back of the largest flower with lots of sticky strip.  I stuck the other largest flower to the front of my ribbon and built up the remaining layers to create a huge flower.  I curled some of the edges to ass interest and depth and again added a brad to the centre.  The ribbon is long enough to save your page in any book and trimmed into shape at the end.

Monday 10 October 2011

Birthday Balloons


A quick visit today.  Todays card is similar to an offering from the other day, same design but different image and paper.  They are of course from the same stamp set, Party this way, and the same Celebrate designer papers.  The balloons create a different look from the candles but the design still works well.

Sunday 9 October 2011

Baby Blossoms


A pretty birthday card today.  The stamp set is Baby Blossoms from the summer mini, a two step stamp set and it is so pretty.  I used marker pens from the subtles series to ink up the stamps, a light colour for the base layer of each flower and then a toning darker colour for the detail.  Once  all the flowers and leaves were in place I used the textured embossing folder in the big shot.  This folder is great, it makes your paper look and feel like a piece of fabric.  I matted onto Baja breeze and then onto the card base of rose red.  I also used rose red ink for the greeting (sincere salutations stamp set) and the frame which I then 3d mounted over the top of an organza ribbon sash.

Saturday 8 October 2011

Luxury Layers


 This is a bit of a departure for me, not my usual style of card at all.  The black base card has been run through the big shot in a polka dot embossing folder then I layered different pieces of Love Letter designer paper (now retired) together with a sash of striped grosgrain ribbon.  I stamped the medallion from Artistic Etchings and layered it onto a scallop punched circle, which I had daubed with silver shimmer paint.  A touch of bling from some rhinestones and voila!

Friday 7 October 2011

How Many Candles?


Today's card is from last months  Make, Do and Send Card club. The "Celebrate" papers are now sadly retired but the stamp set, Party this way, lives on; I'm very glad about that 'cos I love it.
I took the cue for colours from the designer paper and stamped the candles in red, pear pizazz and bashful blue.  The sentiment was punched from card in those colours too.

Thursday 6 October 2011

Love Hearts


Morning all, what happened to our heatwave then huh?!  It's very definitely Brrrrr round here today. 
This is the last card I have to share from my All Occasions class, can you guess which occasion it might be?!   I would probably use it for Valentines Day but it could be used for an anniversary too I think.
Rose red card stock, designer paper and ink with stamps from the I [heart] Hearts set.  This stamp set is still part of Stampin Up's excellent value starter kit and if you join me during October then there are extra freebies for you too!
I need to get back to making my swaps for the forthcoming team training day on the 15th now.  More tomorrow :)

Wednesday 5 October 2011

Happy Balloon day!


An offering from the 2010-11 in-colours today. You gotta love concord crush and it goes so well with pear pizazz.  The in-colour designer paper pattern stack was one of the hostess gifts last year and I used it here to make the balloons.  I used a technique called paper piecing; I stamped the image on the card and then again on the designer paper.  I cut the image out from the paper and "pieced" it onto the card.  The sentiment is from sincere salutations and punched using the decorative label punch.  I daubed around the edge in concord ink to soften the edges

Tuesday 4 October 2011

Ollie Owl


I sometimes wonder if I create anything original at all, all my offerings lately seem to have been copied or at least inspired by other people's gorgeous creations and this one is no exception, it was a swap I received at team training.
I have named this owl Ollie as while I was waiting for the photo to upload I remembered the soft toy I had as a small child.  He was a white owl but I remember he went everywhere with me and became very dogeared in the end.
The colour combination for this card is Rich Razzleberry, Pretty in Pink, Whisper white and Early Espresso.  The base card was run through the Big shot in the polka dot embossing folder, the pink scallop circle was also cut with the big shot and edged with razzleberry ink to add some depth.  I punched the owl in cardstock and in designer paper stack so that he could have a snazzy waistcoat and then 3d mounted him. The greeting is from sincere salutations and is stamped in razzleberry ink.

Monday 3 October 2011

Groovy Thanks!


Bright and cheery isn't it!! The flourish from Baroque motifs is stamped in Pumpin pie ink onto pumpkin card to make a subtle background. I then used the crimper at the top, bottom and across the centre of the card to add interest and then  the sentiment was punched out with the decorative label punch.

Sunday 2 October 2011

Gift card holder


Day 4:  Do you have teenagers to buy for at Christmas?  I do and it can be really difficult to find them something suitable.  I first made something very similar to this with my lovely upline Amanda and it is just so perfect to jazz up those boring gift voucher cards that I thought I would share it with the ladies at my own class.
It is made using the bigshot and the topnote die btu making it as a folded card.  The Jolly Holiday designer paper makes the pocket on the front for the gift card to slide into and then it is decorated with a fower from the 5 petal punch. some ribbon and a little bling.  The greeting is again from Sincere Salutations

Related Posts Plugin for WordPress, Blogger...