Showing posts with label rhinestones. Show all posts

Wednesday, 17 July 2013

Embossed Vellum


This has to be one of my favouritest ever cards, we made it recently at Make, Do and Send Card club.  It's not my own design, I confess I CAS'ed it completely. 
Take a sheet of vellum cardstock and run it, together with an embossing folder, through the Big Shot. Attach the vellum along one edge to your base card, you can cover the glue with ribbon.  Then we added some butterflies made from Designer series paper using the Beautiful Wings embosslits and finished off with a touch of bling by adding a rhinestone.

Wednesday, 10 July 2013

Wildfower Meadow again


I'm loving this new stamp set with it's matching embossing folder, Wildflower Meadow is just great.  Here it is with another new colour Soft Sky, this time teamed with Coastal Cabana.  The sentiment is another new set called Label Love and has it's own coordinating punch, the artisan label punch. Me thinks I'm going to be using that one a lot too :)

Monday, 8 July 2013

Mosaic Madness


Here is another from the card folder and this one is just bursting with new products! 
Again it shows off two new colours, Bermuda Bay and Coastal Cabana, I think this combination will become a new favourite of mine.  The stamp set is Mosaic Madness, it has a coordinating Modern Mosaic embossing folder and a matching mosaic Punch.  There is also a new designer series paper pack called Quatrefancy which works wonderfully well with the suite of products. 

Wednesday, 3 April 2013

All Dressed Up!


The card I am sharing today was designed by Amanda Fowler, you can see her blog here. I had the chance to make it at a team stamping day recently. 
The base card is cut using the oval scallop framelits and the big shot, part of the background layers has been embossed too, you can just about see it in this photo. The dress and stand are from the Dress it up framelit collection.  We attached the fabric to card before cutting out which makes it much neater. 

Tuesday, 19 March 2013

Feeling Sentimental?


I think that Feeling Sentimental is possibly my favourite stamp set from this years Saleabration.  For this simple card I have used a monochrome combination of Night of Navy and Whisper White and added a little bling with some rhinestones.

Monday, 18 March 2013

Bloomin Marvellous


As there are still a few days left of Saleabration I thought I would share a card made using one of the free stamp sets, Bloomin' Marvellous.  There are various versions of this design to be seen on pinterest, splitcoaststampers and other blogs. 
It's a lovely simple design but quite elegant I think and you can make it extra special by adding some pearls or rhinestones and some ribbon.

Friday, 26 October 2012

Snowflake


Did I show you this one? I was helping out at the Stampin Up stand at the Sandown craft show last month and this card was one that we demonstrated during the day.
It makes great use of the Bigshot as we have not only a dotty embossed background but also the beautiful snowflake die.  The greeting is from Greetings of the Season, each of the stamps in this set is a different font and all are perfect for your Christmas cards. Add a little bling with some rhinestones and 3d mount your snowflake.

Saturday, 4 August 2012

Christmas in the pink


All the projects I had to share with you from my crafty weekend away in Worthing mean I haven't yet shown you what we made at Make, Do and Send card club at the beginning of July!


Carrying on from where we left off, another Christmas card! Now that's two people who can have a card this year :)
This card is case'd from Elaine Smith, you can see her blog Sassy Stampers here. I hope you don't mind Elaine but I think this is such a great card. 
The colour scheme is Pretty in Pink and Rich Razzleberry, I stamped the background with the Serene Snowflakes then added punched baubles. Some ribbon and a few rhinestones complete the front.  The front edge is cut shorter than the back with a pretty scalloped edge so a complementary panel was added to the inside.

Friday, 13 July 2012

Manhattan Flowers


Card number one from the Apothecary Art card set.  A clean and simple design and so elegant.  The embossed design is created using the Manhattan Flowers embossing folder and the Big Shot. A strip of Attic Boutique designer paper at the edge adds a little colour and interest. The greeting is from Apothecary Art set off with some sparkle from a few rhinestones.

Friday, 29 June 2012

Forked bow!


This bow is made using a fork! I won't try to explain how but I am sure there are lot's of tutorials to be found on the internet, I guess you could use a bow maker too. 
The ribbon nicely covers the edge of the designer paper and the bow sits on top.  The flower is made from two Mixed bunch blooms, the top layer has had the individual petals cut to the centre which adds some 3D interest and a touch of bling in the centre from a rhinestone.  The greeting is from the curly cute stamp set.

Wednesday, 27 June 2012

Simply Happy Birthday


Simple designs are often the most striking I think.  This stamp is available exclusively to hostesses and is part of a larger set of 11 stamps called Happiest Birthday Wishes.
The base card is Peach parfait and I coloured the stamp with marker pens in various colours that would coordinate with the peach.  I didn't have any peach ribbon so I added another strip of card along the bottom of the card and echoed that on the insert.  Then I thought I was done so I took my photograph but looking at it later I decided that it was missing a little something. 3 Rhinestones on my peach strip was what it needed :)


Friday, 22 June 2012

Pretty Pink bow


I am so excited! Last month for my birthday my husband bought us tickets to see Rock of Ages and tonight's the night! It's a show I've wanted to see for a long time and I'm so looking forward to it.
If that wasn't enough I also have a great weekend ahead of me too.  The first half of this year had been quite rough for our family and when the opportunity arose for me to have a whole weekend away crafting I grabbed it with both hands. So, I am off to Worthing in the morning to join some crafting friends. I wonder how much I will get done or if I will spend more time chatting than cutting and sticking!
Anyhow, I do still have a card to share with you today.


This is a very pretty colour combination of wisteria wonder, pretty in pink and whisper white.  The background mat was run through the Big Shot in the polka dots embossing folder and a faux bow made from pretty in pink satin ribbon has been attached to the card front using a designer printed brad. The focal point is punched from the mixed bunch stamps, one in wisteria and one stamped. Add a pink circle punched from the centre of the flower and add a touch of bling with a rhinestone.

Wednesday, 20 June 2012

Scoring for decoration


Your Simply scoring board is not just for creating boxes and envelopes, here I have used it just to add some decoration to my card. You can't see it very well in the photograph I will have to try and get a close up but I have scored 3 parallel lines both above and below the flowers. The flowers are from the Boho blossoms punch and have rhinestones in the centre. Rich Razzleberry has always been a favourite of mine and I love this combination of razzleberry, Melon Mambo and chocolate chip. 

Monday, 18 June 2012

A Simply Scored gift packet


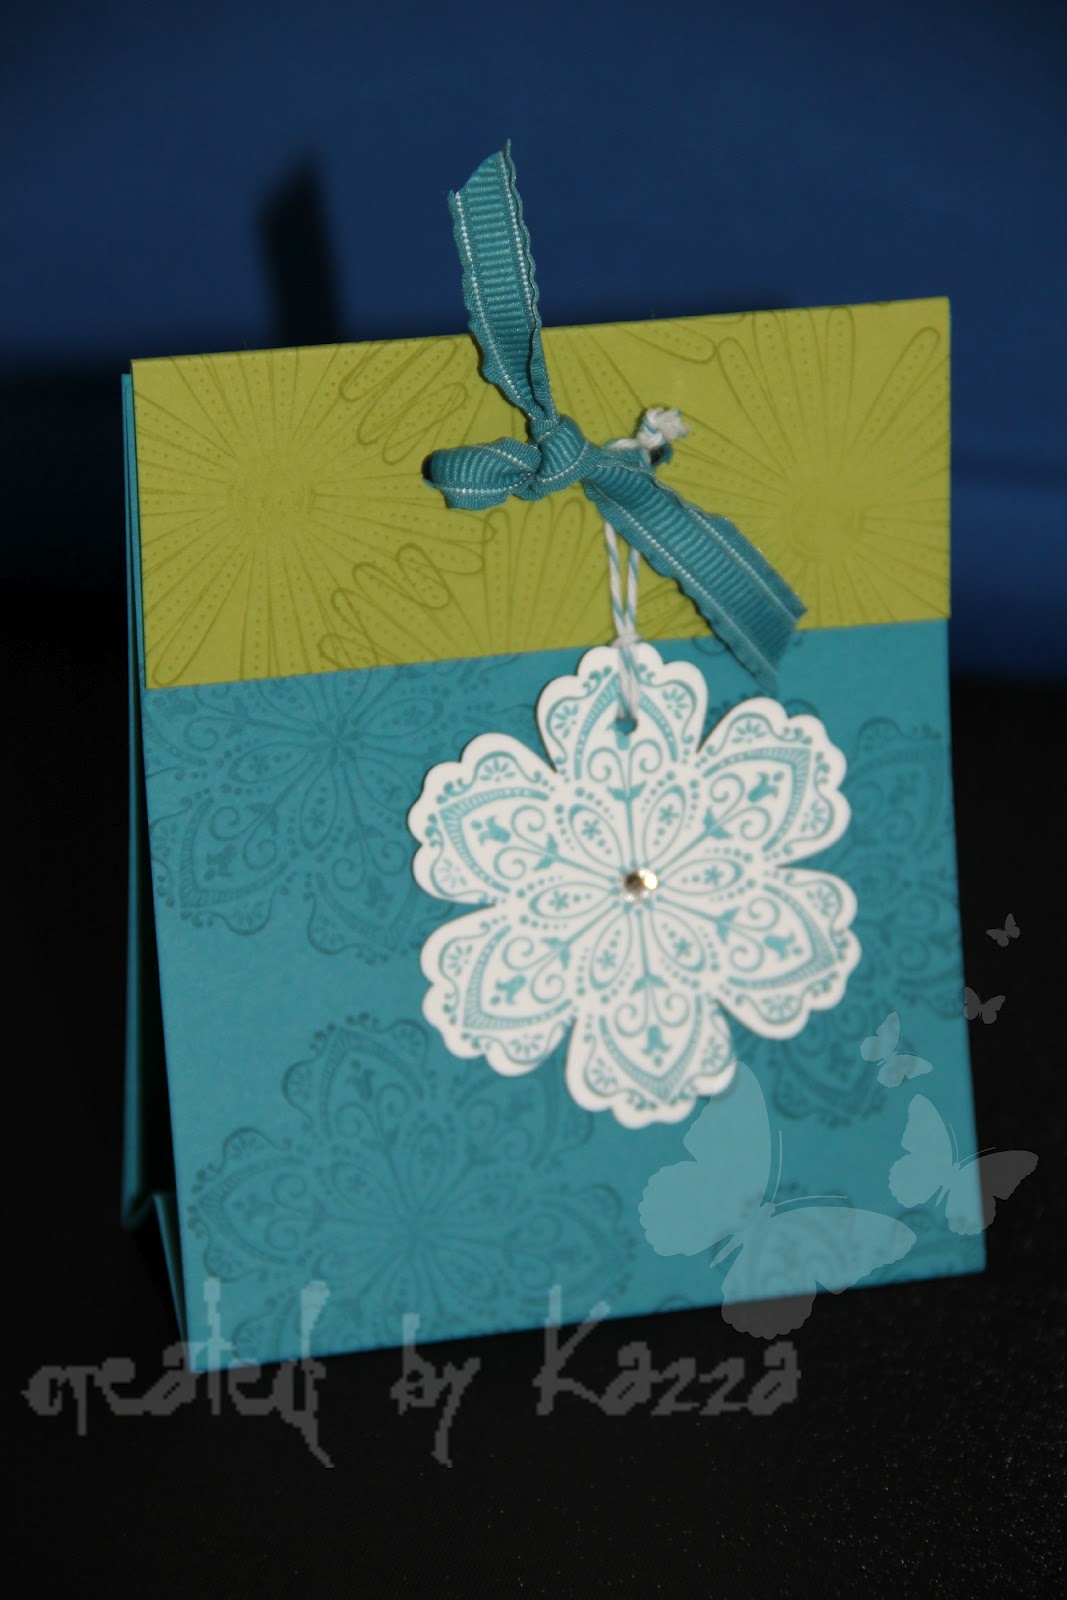
Today I have another Simply Scored project, I learned this one at Amanda's class last month and it could be just the ticket for present a small gift by adding a cellophane bag to the inside. It really is incredibly simple to make but looks oh so pretty, A strip of card decorated by stamping, scored in just the right places and folded. Another piece of coordinating card to make a cover, holes punched right through, including a cellophane bag if required and some ribbon threaded through to hold it all in place.  The gift tag and the stamps are from Mixed bunch and punched with the matching punch.

Saturday, 16 June 2012

Morning Mocha luxury

Well. sadly the Aquazorbing yesterday was cancelled because of the bad weather so we need to reschedule. Trouble is life is so busy at the moment that it may not be for some weeks :/


You have to love the elegant luxury of the Morning mocha designer paper, this particular paper is flocked. for this card I have let the paper take centre stage and just added a small element from the simply soft stamp set with a rhinestone and some coordinating crumb cake seam binding ribbon.


Tomorrow is Father's day, think I had better head off and make sure I have everything prepared!

Monday, 4 June 2012

Blossom


This card was inspired by a swap that I received at the Reading Training day a few weeks back.  It is such a simple design but so striking and it shows off the new Blossom punch and the new Sweet shop designer paper so beautifully.  These papers are just gorgeous, 2 of the designs (one of which is shown here) are embossed and therefore add some lovely texture to your projects.  The greeting is from Petite Pairs and stamped in Wisteria Wonder. Oh and don't forget to add a touch of bling with rhinestones! 

Friday, 1 June 2012

Triple Treat Flower


Today's card is one that I designed for my monthly card club recently. The Triple Treat Flower was a new purchase for me and I was desperate to show it off.  It's such a great stamp as it coordinates perfectly with 3 of the Stampin Up punches and that makes it so easy to use.
Here's a closer look


 I was also really eager to use the new satin pleated ribbon from the Summer mini catalogue, it's sooooo tactile and adds a real touch of luxury to your project.

Friday, 28 October 2011

Happiest Birthday Wishes


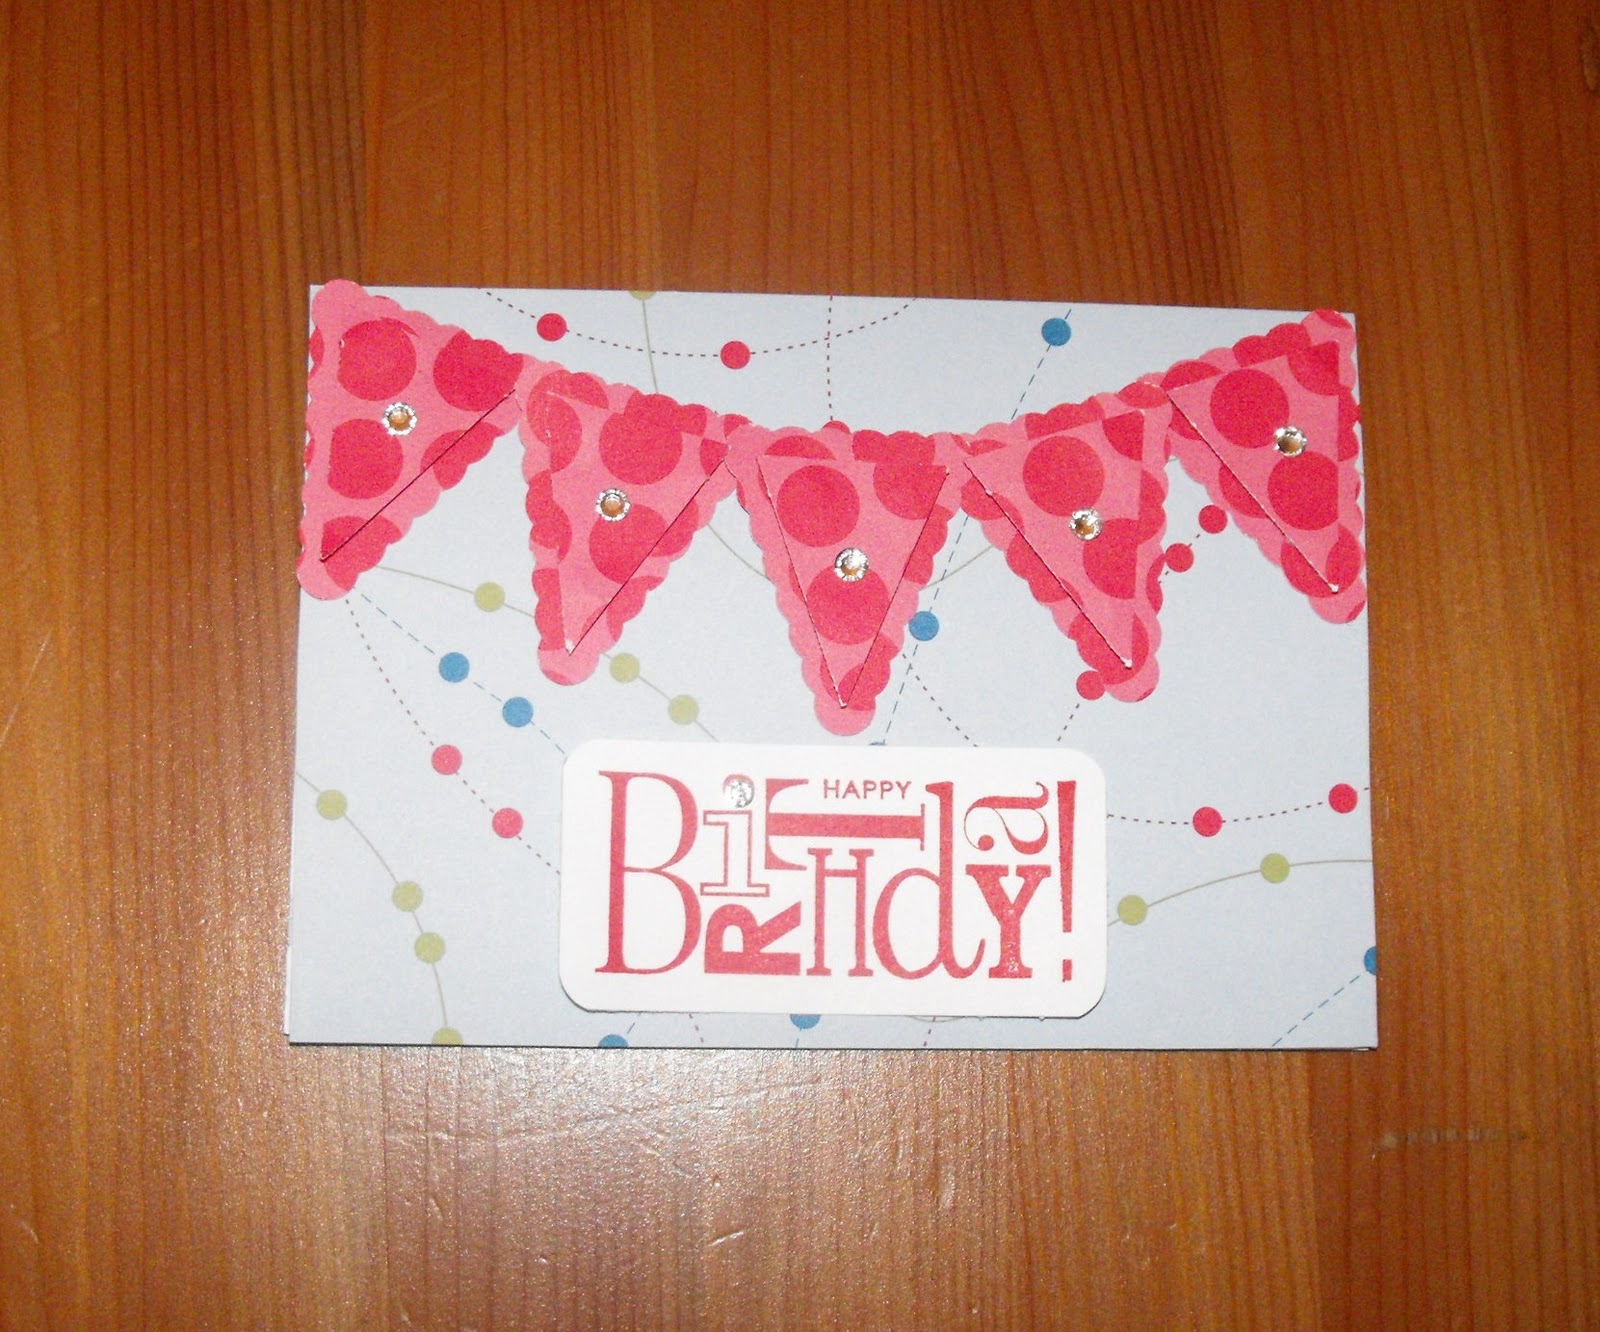
Remember I told you about my nieces birthday last week?  Now that she has received her present I can share her card here.  I used the retired Celebration designer papers for the background and also for the bunting.  To make the bunting I used my new Perfect Pennants punch, it makes it sooo easy! I added a little bling in the form of rhinestones and then the greeting which is from one of the new hostess gifts Happiest Birthday Wishes.

Saturday, 8 October 2011

Luxury Layers


 This is a bit of a departure for me, not my usual style of card at all.  The black base card has been run through the big shot in a polka dot embossing folder then I layered different pieces of Love Letter designer paper (now retired) together with a sash of striped grosgrain ribbon.  I stamped the medallion from Artistic Etchings and layered it onto a scallop punched circle, which I had daubed with silver shimmer paint.  A touch of bling from some rhinestones and voila!

Sunday, 2 October 2011

Gift card holder


Day 4:  Do you have teenagers to buy for at Christmas?  I do and it can be really difficult to find them something suitable.  I first made something very similar to this with my lovely upline Amanda and it is just so perfect to jazz up those boring gift voucher cards that I thought I would share it with the ladies at my own class.
It is made using the bigshot and the topnote die btu making it as a folded card.  The Jolly Holiday designer paper makes the pocket on the front for the gift card to slide into and then it is decorated with a fower from the 5 petal punch. some ribbon and a little bling.  The greeting is again from Sincere Salutations

Related Posts Plugin for WordPress, Blogger...