Showing posts with label ruffled ribbon. Show all posts

Saturday, 25 May 2013

Beth's Birthday Book


While I was in Wales a couple of weeks back visiting my daughter at uni she asked me if I could make something for her friends birthday, fortunately I rarely travel to Wales without card and stamps!  We bought an A5 notebook, I covered it with DSP and stamped the flowers from Blooming with Kindness.  The Lovely Letters were stamped, cut out and layered onto white and blue card which I had background stamped with the Confetti stamps and daubed the edge to soften it. The sentiment is from the Feel Goods stamp set.
 

Of course she then needed a birthday card too so I made this coordinating card, scoring the edges of the panels and completing with ruffled ribbon.  
I hope she liked it.

Friday, 31 August 2012

Happy Birthday


Another birthday card to share today.  This one was for my Mother in Law who was 82 a few days ago.
The stamped image is from Apothecary Art, cut out using the matching framelit dies, the greeting was coloured using a marker pen.
The Everyday Enchantment designer paper is now retired but i thought it was one that she would like.  

Speaking of retirement, it won't be long before we get the new Stampin up catalogue (on 1st October) which means that tomorrow we will hear what is to be discontinued from the current catalogue.  There are sure to be some favourites retiring but how exciting to be getting some new products!  

Also tomorrow is the launch of the new Autumn and Winter catalogue which will run until the end of January.  There are some gorgeous products in there which I hope you will love as much as I do, my wish list is so long! 
If you would like a copy of the new catalogue then please shout and if you would like to host a workshop or to attend a class or club then you can email me.

Friday, 17 August 2012

Christmas Wreath card


I'm going to make a few of these this Christmas! Such an effective design but really easy to create. The white base was embossed in the Big Shot with the striped embossing folder and gives a great base to "hang" the wreath.  The wreath was made by punching a ring of card from two different sized circle punches and then a length of ruffled ribbon wrapped around. A tiny red faux bow finishes it off.  The greeting is from the Contempo Christmas stamp set, a couple of glimmer brads to complete.

Wednesday, 15 August 2012

Christmas Ribbon Wreath


Another team training project but a deviation from the usual cards! This Christmas wreath uses nearly a whole reel of lucky limeade ruffled ribbon wrapped around a polystyrene ring and held with glue dots. I think the poinsettias are great too and so simple to make using the five petal punch, the boho blossoms punch and a glimmer brad.

I have more projects to share with you but as it is A level results day tomorrow I am not sure I will make it here. 

Thursday, 2 August 2012

Bookmark swaps


A couple of Saturday's ago was our Stampin Up teams Quarterly training day. When demonstrator's get together there is always lots of swapping of projects so that we can all gain inspiration from each other. 
In case it isn't obvious, I made bookmarks this time. I made several different colourways as you can see above.


I used the scallop border punch to pretty up the edges and made rings using two of the circle punches to highlight my stamping. 

Monday, 9 July 2012

Rockin' Butterflies


This is the last card from last months card club and was inspired by a card I saw online, again I'm sorry I can't credit the person who designed it as I forgot to take note. 
It seemed to evolve as it went on; the butterflies are created from the mixed bunch flower stamps, punched and then two petals removed. Initially that is how they remained but then at card club we came up with the idea of using the discarded petals/wings to create a more 3d effect.  The two colours are achieved using the rock and roll technique, inking the stamp first in daffodil yellow colour and then rolling the edges of the stamp in pool party ink. A piece of twine tied around created the body and antenna of the butterfly.
The base card has been embossed with the striped embossing folder and some matching pool party ruffled ribbon tied around to finish.


Tuesday, 3 July 2012

Mouthwatering


Another from the Handbag portfolio. The main image is from the Mouthwatering stamp set and has been coloured with marker pens. The designer paper is again from Sweet shop; other embellishments are the new Bakers twine in calypso coral, ruffled ribbon also in coral and a jelly bean brad.The sentiment is from Sweet cake.

Sunday, 1 July 2012

Handbag Portfolio


Isn't this great? A handbag made from Speciality Designer Paper that holds 4 regular A6 cards inside it!  Amanda Fowler showed us how to make these at our quarterly training event in May. 


The bag is made from just one sheet of 12x12 paper which is scored and folded.  The closure is made by adding another small piece of card. I stamped mine with the confetti stamp set and the handbag strap is a piece of Lucky limeade ruffled ribbon. 


I'll show you the cards in more detail over the next few days.

Monday, 25 June 2012

Bright Blossoms


I think this is becoming one of my favourite colours to work with, I'm so glad we will have Island Indigo as one of the Stampin Up In-colours for another year yet.
This card showcases one of the new stamp sets from the summer mini catalogue and to make best use of it's components it's a good idea to use the stamp-a-ma-jig to make sure they line up perfectly. The Bright Blossoms stamps were coloured using marker pens and stamped onto whisper white card. The designer paper is from the new Twitterpated suite, another new favourite, the coordinating ruffled ribbon sets it off just right, not a bow this time but a neat knot.

Monday, 18 June 2012

A Simply Scored gift packet


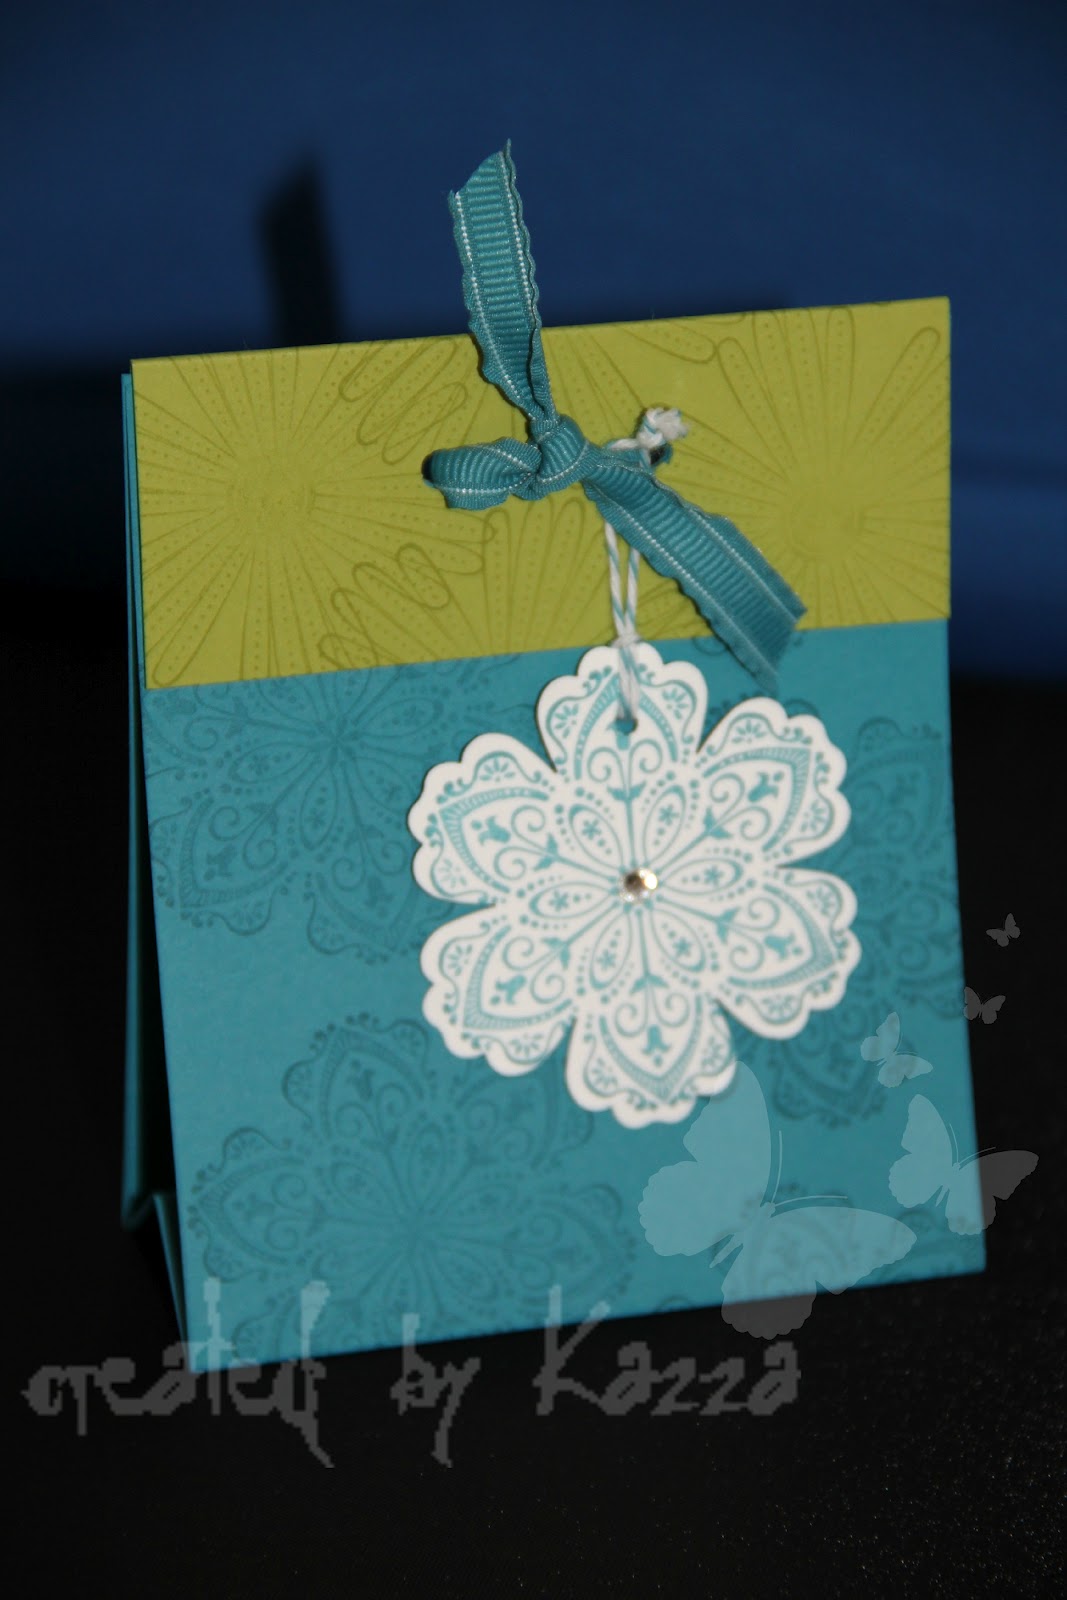
Today I have another Simply Scored project, I learned this one at Amanda's class last month and it could be just the ticket for present a small gift by adding a cellophane bag to the inside. It really is incredibly simple to make but looks oh so pretty, A strip of card decorated by stamping, scored in just the right places and folded. Another piece of coordinating card to make a cover, holes punched right through, including a cellophane bag if required and some ribbon threaded through to hold it all in place.  The gift tag and the stamps are from Mixed bunch and punched with the matching punch.
Related Posts Plugin for WordPress, Blogger...