Showing posts with label Pretty in Pink. Show all posts

Sunday, 24 March 2013

Beautiful Gift Bag


Isn't this pretty?! One of the girls in my team gave me this at Christmas with some extremely yummy cookies inside. You can see her blog here.  The cookies didn't last long enough for me to take a picture funnily enough. 
She has used the Mixed Bunch stamp set to decorate the bag in Melon Mambo, Regal Rose and Pretty in Pink ink and attached the tag with Bakers Twine.
Below are some close up pictures of the tag.


Saturday, 4 August 2012

Christmas in the pink


All the projects I had to share with you from my crafty weekend away in Worthing mean I haven't yet shown you what we made at Make, Do and Send card club at the beginning of July!


Carrying on from where we left off, another Christmas card! Now that's two people who can have a card this year :)
This card is case'd from Elaine Smith, you can see her blog Sassy Stampers here. I hope you don't mind Elaine but I think this is such a great card. 
The colour scheme is Pretty in Pink and Rich Razzleberry, I stamped the background with the Serene Snowflakes then added punched baubles. Some ribbon and a few rhinestones complete the front.  The front edge is cut shorter than the back with a pretty scalloped edge so a complementary panel was added to the inside.

Thursday, 28 June 2012

Rock and roll, Vintage Vogue and a Faux Bow!


Another pretty bow taught to me by Amanda. However this one isn't really a bow it just looks like one and the beauty of this one is that it lies so flat that it will easily go through the post, alternatively you could add lots of extra layers and colours to it and really go to town. 
The stamped image is using the Vintage Vogue flowers and I used the rock and roll technique to get the two colours.  First I inked up my stamp with the paler pretty in pink colour and then carefully rolled the edges of the stamp on the rose red ink pad so that colour was only added to the edge.  

Tuesday, 26 June 2012

Bordering on Romance


Hello, I'm back from a fabulous weekend away crafting :) I will share what I made later in the week but for now I have a card using the lovely Bordering on romance stamp set that is available from Stampin' Up's  current mini catalogue.  
The image has been stamped and coloured with blender pens or you could use watercolours for an even softer effect, hmm I may have a go with that later on. I used the embossing frames around the image and cut it out, I haven't used the frames much yet but I like this effect. Now, do you like my bow? I so struggle with tying a neat bow sometimes it can be a bit hit and miss but Amanda showed me a new technique. I punched a hole in the base card and threaded my ribbon around the card and through the hole before tying the bow. Neat huh!

Friday, 22 June 2012

Pretty Pink bow


I am so excited! Last month for my birthday my husband bought us tickets to see Rock of Ages and tonight's the night! It's a show I've wanted to see for a long time and I'm so looking forward to it.
If that wasn't enough I also have a great weekend ahead of me too.  The first half of this year had been quite rough for our family and when the opportunity arose for me to have a whole weekend away crafting I grabbed it with both hands. So, I am off to Worthing in the morning to join some crafting friends. I wonder how much I will get done or if I will spend more time chatting than cutting and sticking!
Anyhow, I do still have a card to share with you today.


This is a very pretty colour combination of wisteria wonder, pretty in pink and whisper white.  The background mat was run through the Big Shot in the polka dots embossing folder and a faux bow made from pretty in pink satin ribbon has been attached to the card front using a designer printed brad. The focal point is punched from the mixed bunch stamps, one in wisteria and one stamped. Add a pink circle punched from the centre of the flower and add a touch of bling with a rhinestone.

Wednesday, 13 June 2012

Inked & Embossed


Another new technique! Well not quite, I have attempted this one once before.  This effect is achieved by taking an inkpad to the inside of an embossing folder before placing the card inside and running through the Big Shot. There are a lot of layers to this card, the pretty in pink base card and then Rose Red designer paper followed by a crumb cake layer and then the embossed layer, the embossing folder is elegant Bouquet. The butterfly was punched from dsp and attached with a rhinestone brad.

Friday, 1 June 2012

Triple Treat Flower


Today's card is one that I designed for my monthly card club recently. The Triple Treat Flower was a new purchase for me and I was desperate to show it off.  It's such a great stamp as it coordinates perfectly with 3 of the Stampin Up punches and that makes it so easy to use.
Here's a closer look


 I was also really eager to use the new satin pleated ribbon from the Summer mini catalogue, it's sooooo tactile and adds a real touch of luxury to your project.

Thursday, 31 May 2012

Hello


OK what happened to May? This year is certainly running away with me!


Today's card is very quick and simple. Some easy layers topped with some embossed polka dots.  Stamp a Hello and add a couple of coordinating punched flowers, some ribbon and some pearls, voila!

Thursday, 24 May 2012

Better Late than Never


Sale-a-bration is always a great time in the Stampin' Up! world and although it is long over now I wanted to share one or two of my creations with you. Outlined Occasions was one of my favourite sets from this years SAB and it looks great when you colour with marker pens.  The background is embossed in the Big shot with the polka dots embossing folder and then I added a strip of Melon Mambo striped ribbon upon which I mounted the message.

Tuesday, 22 May 2012

Birthday cake?


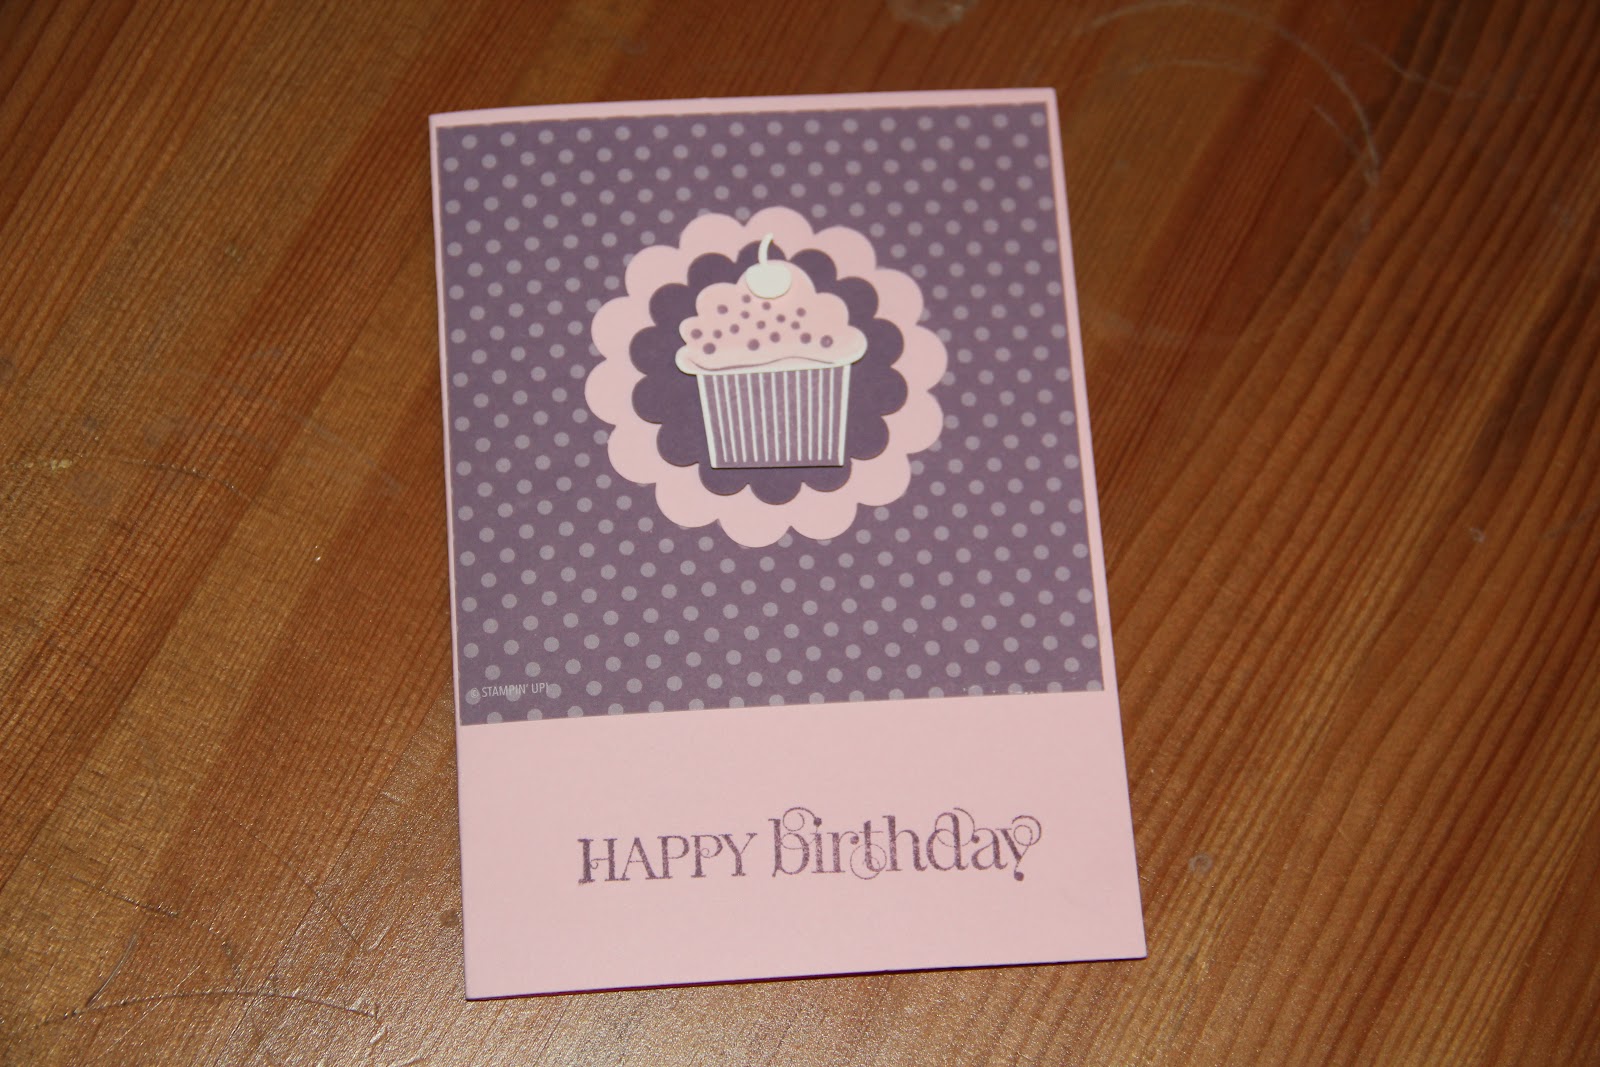
More new products from the Spring mini that I really hope are going to carry over into the new main catalogue in October. Can you spy new punches?  There are two!  We have the create a cupcake punch that coordinates perfectly with the stamp set (which also make great clouds and sheep and tons of other stuff!) and the new large scallop circle punch. Colours today are Perfect plum and Pretty in Pink and the sentiment is from Curly cute

Monday, 21 May 2012

Pretty Pink Flowers


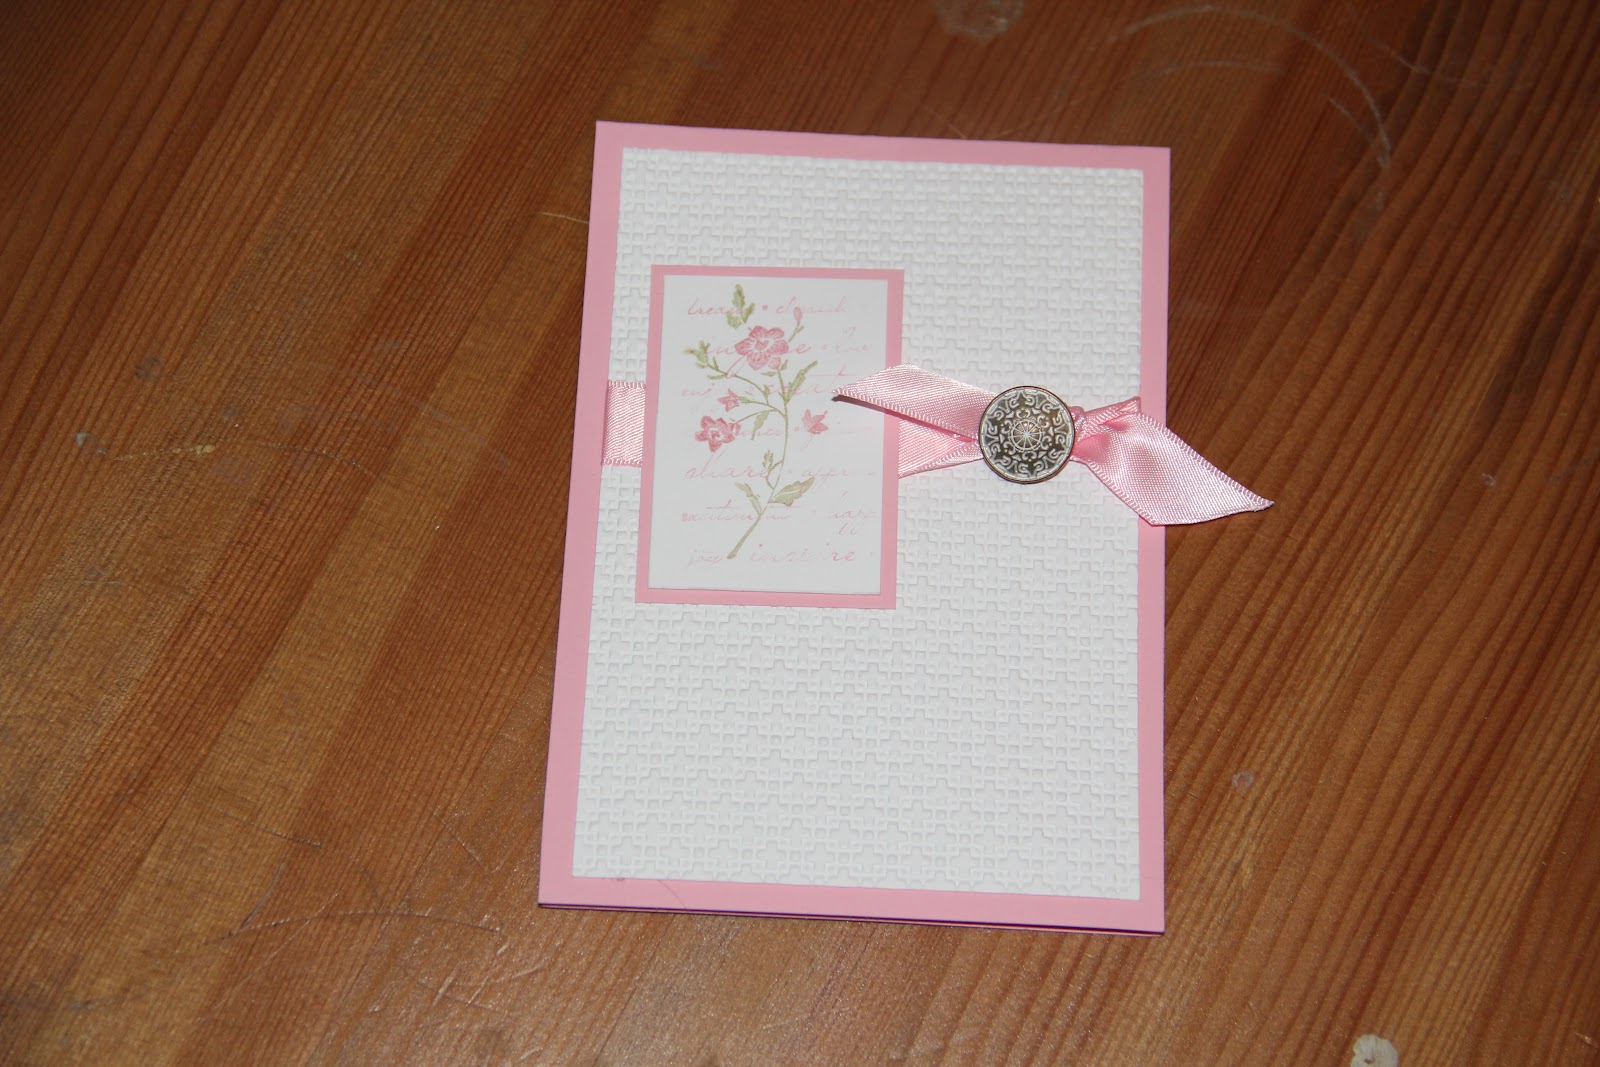
Monday morning again, they come around quickly don't they. Today's card is definitely one for the ladies I think, pink and floral but very pretty.  The stamps were from a set in the Spring mini, I coloured the flowers with marker pens so that I would get the two colours together and stamped onto whisper white card stock.  The image was matted onto Pretty in Pink and then onto a white layer of card that I had embossed with the textured embossing folder in the Big shot.  The ribbon is Stampin' Up! satin ribbon and is knotted beneath a large antique brad.

Wednesday, 26 October 2011

Rock n Roll Posy


Yay!!  A return to razzleberry for me today :)  I made this card for my friends birthday last week.  She moved away a couple of years ago so I was delighted when she decided to hold a birthday bash in her old stomping ground. 
So, razzleberry card, striped grosgrain ribbon and ink.  The stamps are from one of the new hostess sets Posy Punch and I used the rock and roll technique to give the flowers a lighter pinker centre then used the big flower punch to cut them out easily.

Tuesday, 4 October 2011

Ollie Owl


I sometimes wonder if I create anything original at all, all my offerings lately seem to have been copied or at least inspired by other people's gorgeous creations and this one is no exception, it was a swap I received at team training.
I have named this owl Ollie as while I was waiting for the photo to upload I remembered the soft toy I had as a small child.  He was a white owl but I remember he went everywhere with me and became very dogeared in the end.
The colour combination for this card is Rich Razzleberry, Pretty in Pink, Whisper white and Early Espresso.  The base card was run through the Big shot in the polka dot embossing folder, the pink scallop circle was also cut with the big shot and edged with razzleberry ink to add some depth.  I punched the owl in cardstock and in designer paper stack so that he could have a snazzy waistcoat and then 3d mounted him. The greeting is from sincere salutations and is stamped in razzleberry ink.

Saturday, 6 August 2011

Snowman Box


Cute isn't he!  Another project from team training day.  This cute little box is made from a scored rectangle to make the base of the box and 3 top note die cuts, one in cherry cobbler which is cut in half lengthways and 2 in white.  The two white topnotes are stuck front and back of the box with the two halves of cherry making up the hat.  A strip of cherry makes the brim of his hat and then some tiny black circles punched from Stampin Ups owl punch and a tiny triangle of pumpkin pie for his carroty nose.  A hint of rosy cheeks is created by a daubing of pretty in pink ink.


Monday, 11 July 2011

Embossed Roses


Morning all,  I am finally beginning to catch up with myself.  Today I have a card that we made at Make, Do and Send card club at the end of June, Yes I am THAT far behind :(
This technique is so simple but it looks so effective.  Take a piece of Stampin Up whisper white card and insert it into the Manhattan Flower embossing folder which previously has been inked by simply rubbing with an inkpad. Run the folder through the Big Shot and the paper comes out both embossed and inked all in one go!!  clever huh! I then trimmed around the roses and mounted it onto coordinating Pretty pink card and added a sentiment.  More tomorrow :)

Tuesday, 14 June 2011

Lots of Scallops

I finally began my own card club last month and this is one of the cards that we made; I'll share the others over the next few days. The stamps are from Fun Fast notes, the words are stamped in razzleberry ink to match the cardstock and the image stamp was coloured with markers.  The card stock is Rich Razzleberry the image is 3d mounted onto a scalloped circle and I used the scallop border to edge the vertical strip.  The Pretty in pink papers are from the designer paper series.
Related Posts Plugin for WordPress, Blogger...