Showing posts with label stamp. Show all posts

Tuesday, 26 March 2013

Karting


Here's another scrapbook page I made showing a Karting activity from Summer camp last year.  The kids faces are so expressive, revealing the fun they're having. 
My base page is Bashful blue and my photos are mounted on night of Navy card.  The row of quad bikes from the Need for Speed stamp set was an obvious addition but it took me a while to decide on the pennants for the top edge; I used a combination of pennants using the Big Shot die, Perfect Pennants and the Pennant punch.

Thursday, 6 October 2011

Love Hearts


Morning all, what happened to our heatwave then huh?!  It's very definitely Brrrrr round here today. 
This is the last card I have to share from my All Occasions class, can you guess which occasion it might be?!   I would probably use it for Valentines Day but it could be used for an anniversary too I think.
Rose red card stock, designer paper and ink with stamps from the I [heart] Hearts set.  This stamp set is still part of Stampin Up's excellent value starter kit and if you join me during October then there are extra freebies for you too!
I need to get back to making my swaps for the forthcoming team training day on the 15th now.  More tomorrow :)

Sunday, 31 July 2011

Blue, blue Christmas

Okay I'm getting fed up of upside down photos now :(

A different colour scheme but the same stamp set, Contempo Christmas.  Another CASE'd card but who would want to make changes to this one?!
Marina mist cardstock and papers from Elegant Soiree; the image is stamped in Marina Mist and Daffodil Delight ink.  I used the marker pens to ink the stamp so that the image is dual coloured.


Friday, 22 July 2011

Plane simple

Look familiar??   This is the one that I copied for my Make, Do and Send club last month btu in a different colourway.  Not sure which I prefer and I may try it in different colours yet.
I wont bore you with all the details again it's too close to the end of term and we are all tired I'm sure.  Personally I can't wait to break up this year, I seem to have been sooooo busy I really need a break.  Not that I will get one initially :/  I am off to Scout Summer camp for the first week of the hols which is hard work but great fun. Keep your fingers crossed for reasonable weather please I hate camping in monsoons!
I will try and schedule some posts to appear here while I am away, I have some to share from my Christmas in July class and some projects from team training day too.

Wednesday, 13 July 2011

Starry


 Oh dear, something's wrong here but I can't seem to fix it. This photo is upside down!  On my computer I have turned it round but when I upload it to blogger it's always upside down again!  How's that work ??? Fortunately this design can turn almost anyway up (just as well really!)
I have to confess that I was a little concerned about this one, I'm just not sure about the colour scheme of So Saffron and Certainly Celery, maybe I would be happier if it was brighter colours; the ladies at Make Do and Send liked it so that was ok. 
I punched a star out of the whisper white base card and mounted it onto the celery base card then, using the Seeing Stars stamp set, stamped it all over with a mixture of saffron and celery stars.  For a bit of dimension I punched out some more stars from Saffron designer paper, 3d mounted them and added a few rhinestones.

Tuesday, 12 July 2011

Plane & Simple


Another offering from last month's Make, Do and Send club but this one has been CASE'd from a fellow Stampin Up! demonstrator.  That's one of the great things about SU, noone minds when you Copy And Share Everything :)  I did change the colour scheme slightly however, I used Poppy Parade designer paper which is one of 2011's In colors and crum cake card and ink.  The stamps are from the Plane Handling set which is one of my favourites, maybe because planes are so much part of our family life. The last card from card club tomorrow :)

Friday, 17 June 2011

MonoChrome


I do like a bit of Black and White, it has a simple elegance I think and as I have a fair bit of black and white card I think I may ake a few more of these!  The stamp set is Artistic etchings, all stamped in basic black onto whisper white card.  I used the topnote die in my big shot to create the centrepiece trimming the edge from the white one to create the black mat.  Finished off with some Stampin Up striped grosgrain ribbon.

Thursday, 16 June 2011

Pillow Box


Morning! How's the weather today?  I have to confess I cheated and scheduled this to post while I'm at work today.  I have such a busy few days ahead, I have an interview as a volunteer for the London Olympics this afternoon, prep for card club to do tomorrow oh and collection of my costumes for next weeks show and then Saturday is a visit to Birmingham with my daughter to look at the university.  On Sunday we get to the theatre for the last couple of rehearsals before opening night on Wednesday.  So you may not see much of me next week.
But back to today's offering, we made this at card club last month but I first did this at the Girl Guiding event I did in March.  The card stock is So Saffron and I inked boho blossoms in the same colour.  I added some butterflies in Marina mist ink and 3d mounted a marina butterfly and boho blossoms cut of course with their matching punches, so much easier and lovely to have an exact match. The Thanks sentiment is again stamped in Marina mist onto marina card and punched with the scalloped circle before being adhered to the matching satin ribbon.  Add a bit of bling with rhinestones and there you are!

Wednesday, 15 June 2011

Origami Shirt


I think something similar to this may be my Father's Day card this year but it could equally be used for a birthday.  We did this at card club too; the folded shirts aren't nearly as difficult as they look and make an effective topper for your card don't you think?
I used copier paper for the shirt, stamped both sides and then run through the Big Shot in a textured embossing folder before folding into the shirt shape. It is matted onto some Pear Pizazz designer paper and Pumpkin Pie and mounted onto Crumb Cake card stock.  The sentiment is stamped in matching Pumpkin ink, punched and 3d mounted.


Tuesday, 14 June 2011

Lots of Scallops

I finally began my own card club last month and this is one of the cards that we made; I'll share the others over the next few days. The stamps are from Fun Fast notes, the words are stamped in razzleberry ink to match the cardstock and the image stamp was coloured with markers.  The card stock is Rich Razzleberry the image is 3d mounted onto a scalloped circle and I used the scallop border to edge the vertical strip.  The Pretty in pink papers are from the designer paper series.

Thursday, 9 June 2011

Bliss

Still haven't found m camera lead and therefore still struggling to upload photos here but I have found an older one on my phone to show you.  Remember I told you about my weekend at the Brighton Hobbycraft show?  Well, here is a picture of one of the make and takes we did that weekend.  It used one of the saleabration stamp sets, Bliss, which remains one of my favourites.  I love this colour combination of Pretty in Pink and Espresso.

Wednesday, 9 February 2011

Altered Clipboard


I'm off to the Hobbycraft show at Brighton this weekend to help out on Amanda's Stampin Up stand.  Please say Hi if you're there too.  Anyway, I digress, Amanda gave us a clipboard to decorate and this is what I did with mine, it was bright blue plastic before I started. The first picture shows the back, I covered it with papers from the Newsprint and Designer papers stacks, then added my name in board letters upon which I used a base of white craft ink and then stamped in razzleberry ink with a circle stamp from the Circle Circus set.  I also stamped the flourish from the Saleabration Bliss set in Razzleberry and sponged ink around the edges.  The flowers are paper daisies which I sponged with ink, I added a touch of bling with rhinestones for pearls for their centres.  The second photo is the front of my board, I needed to keep the hole thing flatter because I will need to write on this side after all.  Again, I covered it in razzleberry card then I added a strip of very vanilla which I had stamped with the So Swirly wheel and also a larger piece of vanilla card which has the flourish stamps from the Bliss set once again. There is a narrow piece of vanilla grosgrain ribbon around the edge of the board and lots of ribbon in whisper white, very vanilla and old olive to add some luxury

Thursday, 27 January 2011

A LARGE picture of my little girl.


I love this photograph and so I thought I would do it some real justice and print it off large! As the photo more than takes centre stage I thought I would keep the rest of the page quite simple.  The dotty background is from the Elegant Soiree designer papers, the photo is matted onto crumb cake and early espresso card and then the hearts ( all from I (heart) hearts) are stamped in espresso ink onto crumbcake card, cut out and 3d mounted.


Sunday, 23 January 2011


These pictures were taken on our favourite Cornish beach during a February half term break, hence the empty beach, it certainly doesn't look that empty in the summer!  I love the way the sky is reflected on the wet beach.
The background page is a So Saffron coloured page from the designer stack once more; I used the so swirly wheel to ink the swirly design and the All in the Family stamp set to add the little people, so cute.
   

Friday, 21 January 2011

Monotone

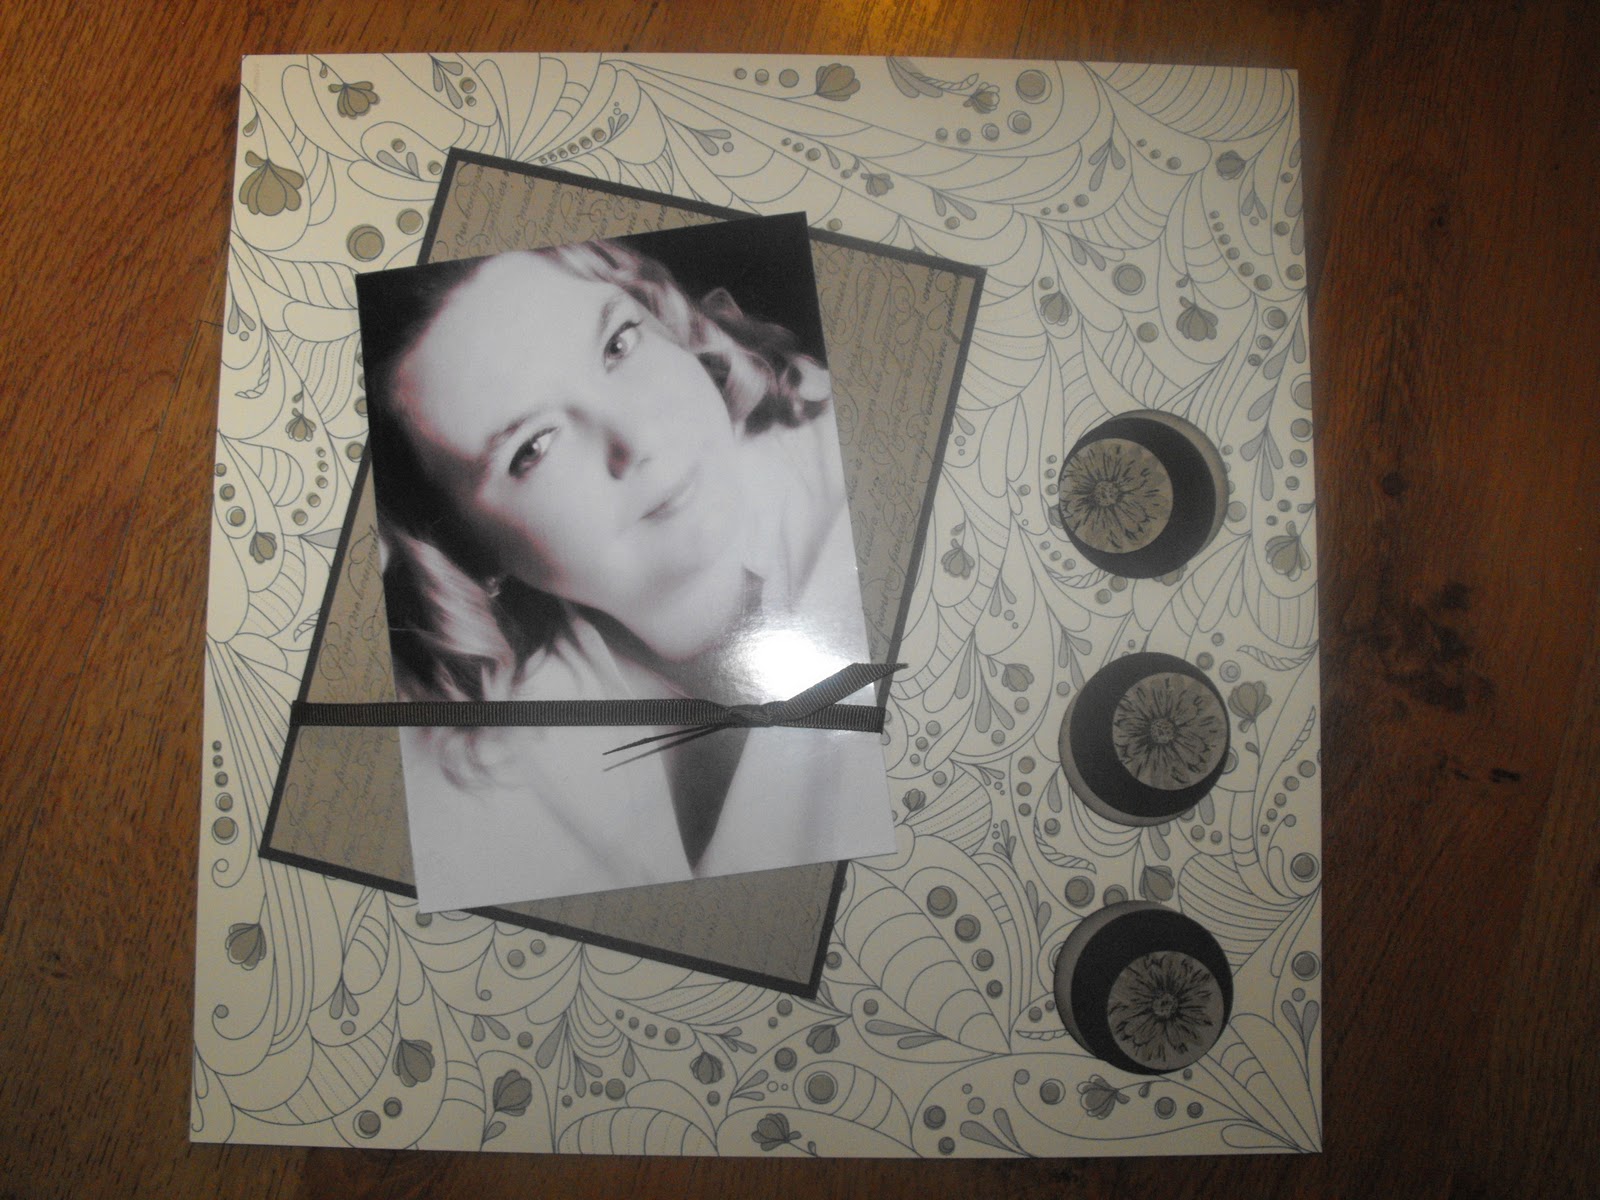
 Revisiting a photo I've scrapped before but treating it in a different way. The 12x12 page is from Stampin Up's Elegant Soiree designer papers in crumb cake. I laid my photo onto a piece of crumb cake card that I had stamped with Le Francais stamp in Early espresso ink, I matted it onto espresso card and added  a piece of espresso ribbon.  I like the jaunty angle so I continued that theme with my stamped flower accents.  I used the twostep stamps from the Green garden stamp set, stamping in crumb cake and espresso ink and 3d mounted them with dimensionals.  I made another page today using photo's from a family wedding in the autumn, I'll show you that tomorrow.

Wednesday, 19 January 2011

Autumn Oak


Another poor photograph, sorry.  I made the Oak Tree from the Lovely as a Tree set very autumnal looking using an aqua painter and the ink from my inkpads, Being very frugal I used up a scrap of background paper tearing down the diagonal and sticking to a wild wasabi card blank.  I didn't mat the image today just added it directly to the card but I did add a splash more colour by using a yellow scallop punched greeting and a ribbon along the spine.


Tuesday, 18 January 2011

Cup Cake


How cute are these two greedy mice mates?!!   I stamped the image in Staz on ink so I could use my favourite watercolours again! Just a simple dotty background paper from Stampin up's paper stack and a touch of ribbon to complete.


Monday, 17 January 2011

Lovely as a fir tree.


The quality of this photo isn't very good I'm afraid, I will replace if I ever find a spare five minutes. I went back to those images I stamped and watercoloured a couple of weeks ago for this card.  The fir tree this time, matted onto crumb cake and wild wasabi card and mounted onto a crumb cake base card.  I also used one of the tiny stamps from the Lovely as a Tree set to stamp a background for the card.  I added a scallop punched greeting in wasabi to finish it off.
 

Sunday, 16 January 2011

A tiny touch of Spring


I don't know about you but I am getting very fed up with this weather, I want Spring to arrive and I want it now!  I went digging through my stamps to find something a little more Springlike and rediscovered this one that I hadn't used for sometime.  It's a retired Stampin Up set (I hate it when they retire my favourites :(  ) It's so pretty, the girl is wistfully looking across the field enjoying the sunshine don't you think?  Another watercoloured image cos this one definitely needs a soft focus then matted onto Marina Mist designer paper and card.  A touch of ribbon and a scallopped oval punch and greeting.
 

Saturday, 15 January 2011

Balloon Bear


 You can't have a birthday without balloons can you! and this little cutie has lots.  I was feeling a little more creative with this one, I used papers from the Stampin Up designer stack again, Wild Wasabi this time.  The papers are double sided so I ripped it in half along the diagonal and used both sides.  The ribbon is Very Vanilla grosgrain and instead of tying a bow (or more probably a knot!) I twisted the ribbon once before adhering inside the card.  I'm not quite sure if I like the effect yet, time will tell.  The stamped image has been watercoloured and matted onto Wild Wasabi card.
Related Posts Plugin for WordPress, Blogger...